QuickBooks integration
Connecting QuickBooks Online keeps your clients, invoices and payments in step across both systems, so the office is not typing the same customer into two places and reconciling them by hand afterwards.
Where to find it
Section titled “Where to find it”Settings → Integrations holds every connection EyeOnTask makes to an outside system — accounting packages and payment processors both.
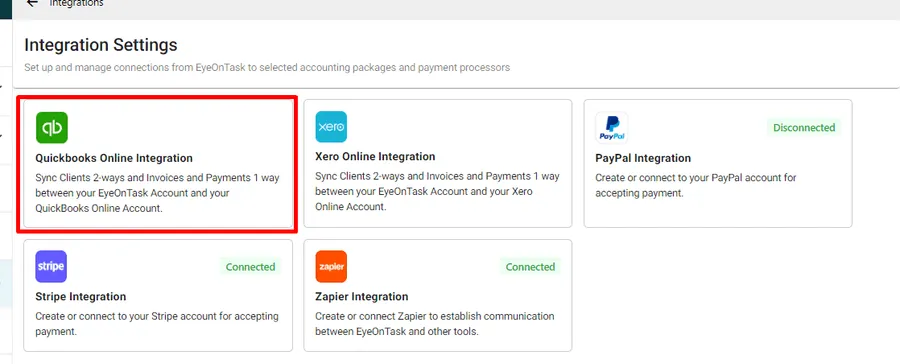
Settings → Integrations
QuickBooks Online Integration is the first card. Each card shows whether it is currently connected.
Connecting
Section titled “Connecting”Opening the QuickBooks card gives you what the integration does and one button.
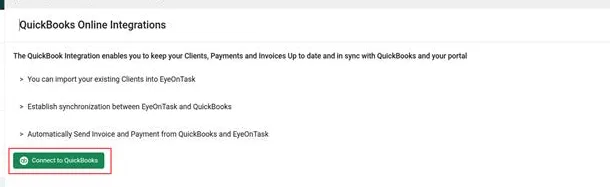
Settings → Integrations → QuickBooks Online Integration
Connect to QuickBooks hands you to Intuit to sign in. You are signing in to QuickBooks itself here, not to EyeOnTask.
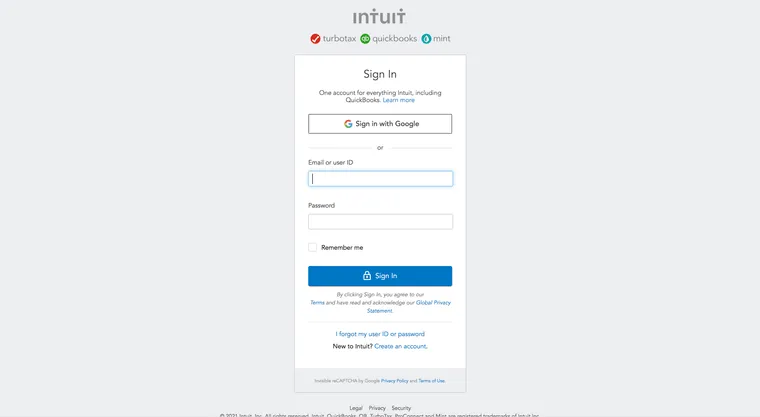
Intuit sign-in
Once you are in, Intuit asks which company file to connect. Pick the one whose books this EyeOnTask account bills for.
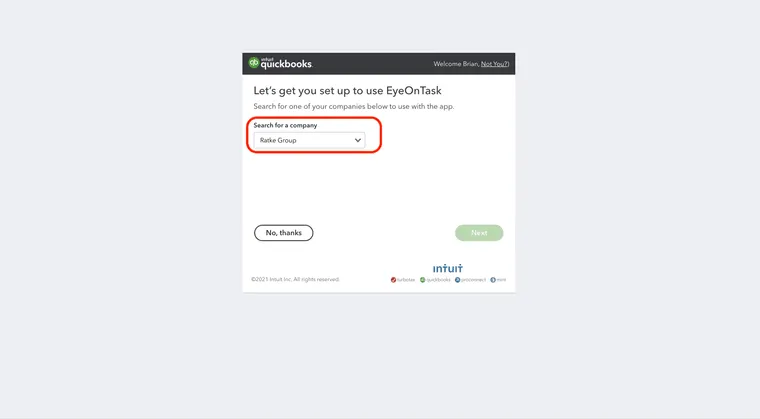
QuickBooks → select company
Mapping
Section titled “Mapping”Choosing the company brings you back to EyeOnTask, on the mapping screen. This is where you tell the two systems that your tax is their tax — without it, a synced invoice arrives in QuickBooks with nothing in the tax field.
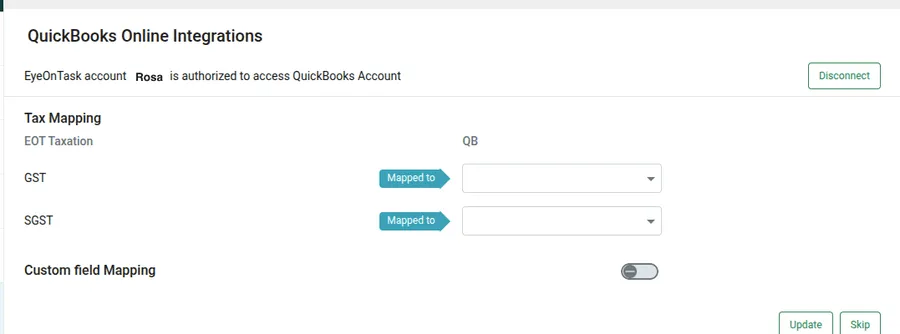
QuickBooks Online Integrations → mapping
Each tax you charge in EyeOnTask gets a Mapped to dropdown holding the tax codes QuickBooks knows about. Work down the list and pair them off.
Custom field Mapping does the same job for one custom field, so something you record on a job travels across with the invoice rather than being lost at the boundary.
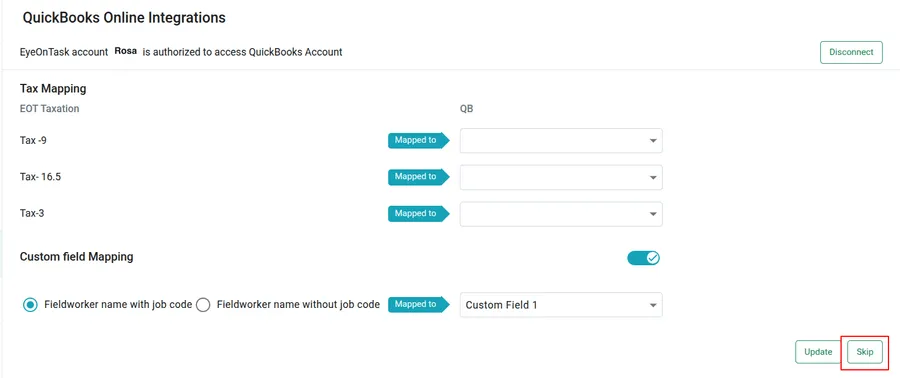
QuickBooks Online Integrations → mapping, with Skip highlighted
Update saves the mapping. Skip moves on without it — useful the first time you connect, when you want to see the sync tabs before deciding how to pair the taxes. You can come back to this screen at any point through Go to mapping.
The four sync tabs
Section titled “The four sync tabs”Past the mapping screen sit four tabs — Client, Invoice, Payment and Inventory. Each one lists what is available to sync, with tickboxes to choose rows and a button to send them.
Which way each one travels is the thing to learn here, because they are not all the same:
| Tab | Direction |
|---|---|
| Client | Both ways — EyeOnTask → QuickBooks, and QuickBooks → EyeOnTask |
| Invoice | One way — EyeOnTask → QuickBooks only |
| Payment | Both ways |
| Inventory | One way — QuickBooks → EyeOnTask only |
Clients
Section titled “Clients”
QuickBooks Online Integrations → Client
Tick the clients you want and press Sync Clients to Quickbooks.

QuickBooks Online Integrations → Client, the other direction
Sync Clients from Quickbooks brings them the other way, which is how you start when your customer list already lives in QuickBooks — you import it rather than retyping it.
The Sync Status and Client Status filters narrow the list, which matters once you have hundreds of customers and only want the handful that have not gone across yet.
Invoices
Section titled “Invoices”
QuickBooks Online Integrations → Invoice
Invoices travel one way only, out of EyeOnTask. That is deliberate: EyeOnTask is where the work is priced, so it is where the invoice is raised, and QuickBooks receives it.
Sending payments to QuickBooks
Section titled “Sending payments to QuickBooks”Payments go both ways, because money genuinely arrives on both sides — a card payment taken through EyeOnTask, a bank transfer reconciled in QuickBooks. Syncing both directions is what stops a client looking unpaid in one system and settled in the other.

QuickBooks Online Integrations → Payment
A payment sent to QuickBooks shows against its invoice there.
Bringing payments in from QuickBooks
Section titled “Bringing payments in from QuickBooks”
QuickBooks Online Integrations → Payment, the other direction
The invoice in EyeOnTask updates itself. A payment brought in from QuickBooks is applied to the invoice it belongs to, and the invoice’s own payment status follows the amount received:
- Paid — the payment covers the full invoice amount and nothing remains.
- Partially Paid — the amount received is less than the total due, and the balance still outstanding is carried on the invoice.
The status is EyeOnTask’s, not QuickBooks’s. The sync brings the money across; the invoice works out what that leaves.
The transaction is also written to the client’s payment ledger, marked with where it came from, so the money is visible on the client record as well as on the invoice.
Nobody has to mark an invoice off by hand after a sync. A bank transfer reconciled in QuickBooks this morning settles its EyeOnTask invoice in the same pass.
Inventory
Section titled “Inventory”
QuickBooks Online Integrations → Inventory
Inventory only comes inwards: Sync Product and Services from QuickBooks imports the products and services already set up in your QuickBooks account, so your item list matches the one your accountant bills from.
Your items reach QuickBooks on invoices instead. Whatever item or service is on an invoice goes across with it when that invoice syncs, and is created there if it does not exist yet. There is no direct export of the item list, and none is needed — anything you actually bill for arrives the first time you bill for it.
Disconnecting
Section titled “Disconnecting”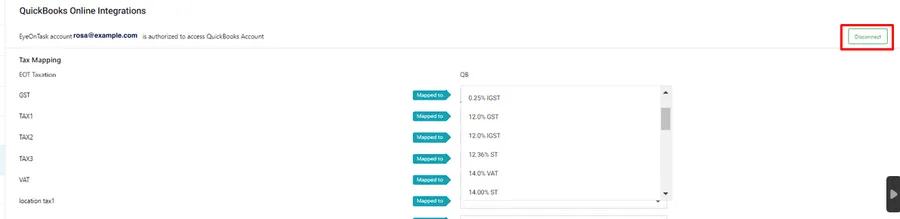
QuickBooks Online Integrations → mapping, with Disconnect highlighted
The back arrow — or Go to mapping — returns you to the mapping screen, and Disconnect ends the connection with the company you are on.
Do that when you are finished with one company and want to connect another: an account is joined to one QuickBooks company at a time, so the current one has to be disconnected before the next can be authorised. Connecting the new one is the same run as the first — authorise the company, then map its taxes and accounts, because the mapping belongs to the company rather than to EyeOnTask.
Disconnecting stops the two systems talking. It does not reach into QuickBooks and remove what has already gone across: invoices, clients and payments already synced stay exactly where they are in the company you are leaving.
When something will not sync
Section titled “When something will not sync”A row that refuses to go across is usually QuickBooks rejecting it, not EyeOnTask failing to send it, and the message comes back from QuickBooks itself. See QuickBooks and Xero sync errors.
Where to go next
Section titled “Where to go next”- Xero integration — the same job, the other accounting package
- QuickBooks and Xero sync errors — what the refusals mean and how to clear them
- A client’s payments — where synced payments land on the client record
- Invoice and accounts settings — numbering, tax and the rest of the invoicing setup