Filtering the board and scheduler settings
Two sets of controls decide what you are looking at: the dropdowns on the right of the toolbar, which narrow the board to the people and work you care about now, and the gear, which sets how the board looks and behaves from one day to the next.

Scheduler → toolbar
Which people appear
Section titled “Which people appear”Users decides who has a row on the board.
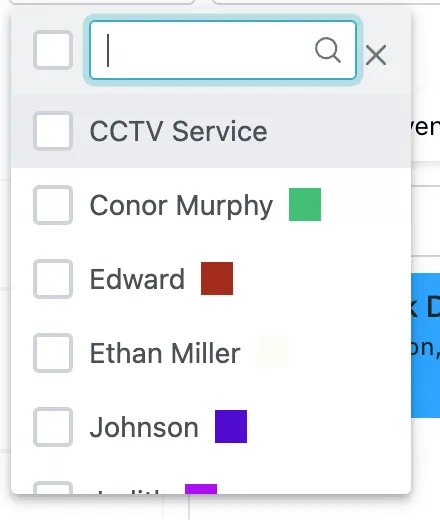
Scheduler → Users
It is a tickbox list with a search box, so a long staff list is narrowed by typing, and the tickbox at the top selects everybody. Narrow it to one crew, one branch or one person and everything else drops away — the first thing to reach for on a busy board.
Each name carries a colour swatch: that person’s colour, and what strips are drawn in when the board is set to colour by staff.
Which kind of work appears
Section titled “Which kind of work appears”The dropdown beside Users chooses All, Job or Appointment.
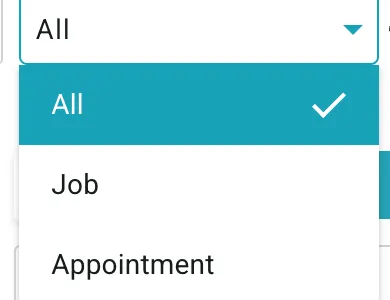
Scheduler → kind of work
All is the default and shows everything together. Set it to Job while you are placing jobs and the appointments drop away.
This dropdown also decides which filters you get. The filters below it belong to one kind of work, so they only appear once you have chosen one:
- All — no filters. Nothing on the board is one kind of thing, so there is nothing to filter by.
- Job — the job filters, including Job Type/Services and job status.
- Appointment — the appointment filters, which are its own.
If the filter you are looking for is not there, this is almost always why: the board is still on All.
Filtering by job type or service
Section titled “Filtering by job type or service”Set the kind of work to Job and a Job Type/Services filter appears, listing every job type you have with tickboxes. More than one can be ticked, so the board can show just the installations, or the two service lines one team covers.
The panel of waiting work has its own search, and the Dispatch window filters separately again — by date range, priority, user and job type — because what you send out is not always what you are looking at.
The gear
Section titled “The gear”Everything below is on the gear in the toolbar, and each entry opens a submenu with its choices.
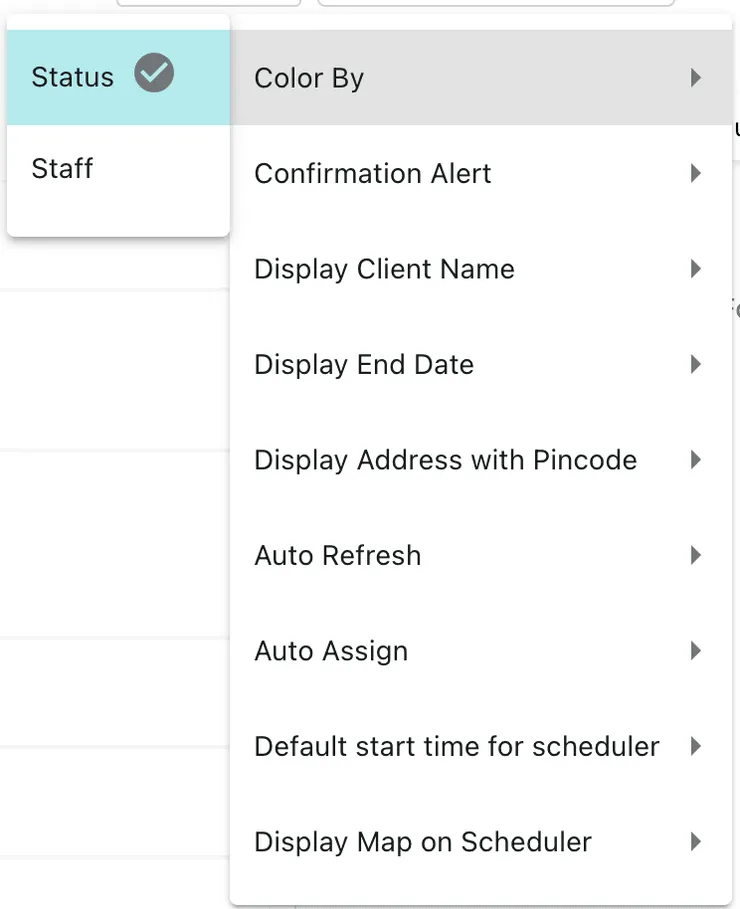
Scheduler → gear
Colour by status or staff
Section titled “Colour by status or staff”Color By takes Status or Staff, and it is the one setting that changes how the board reads at a glance.
- Status colours each strip by where the work has got to — what is done, running or not started. What you want when you are watching a day happen.
- Staff colours by who is doing it, using each person’s own colour from the Users list. What you want when work is spread across rows and you are checking one person’s day.
What each strip shows
Section titled “What each strip shows”Three switches decide how much is written on a strip beyond its time and code:
- Display Client Name — whose job it is.
- Display End Date — the finish as well as the start, which matters for work running past one day.
- Display Address with Pincode — where it is, so a run of visits can be read for geography without opening anything.
The more you turn on, the more each strip says and the less fits on screen.
Confirmation Alert
Section titled “Confirmation Alert”Whether the board asks you to confirm when you drag a job to a new time or a new person, or just moves it. Leave it on where a mis-drag matters; turn it off once someone is rearranging dozens of strips a day.
Auto Refresh
Section titled “Auto Refresh”How often the board reloads on its own: 5, 10 or 15 minutes. Worth setting when the board is on a wall or a second screen. The refresh icon in the toolbar reloads immediately whatever this is set to.
Default start time for scheduler
Section titled “Default start time for scheduler”The hour the board opens at, so a day starts at the beginning of your working day instead of at midnight.
Auto Assign
Section titled “Auto Assign”Display Map on Scheduler
Section titled “Display Map on Scheduler”Whether a map is shown alongside the board. Where one fieldworker is, and the work near them, is covered in where a fieldworker is.