Sending an invoice
Preview and Send Email opens one window with the message on the left and the invoice itself on the right, exactly as the client will see it. Nothing goes anywhere until you press Send Invoice.
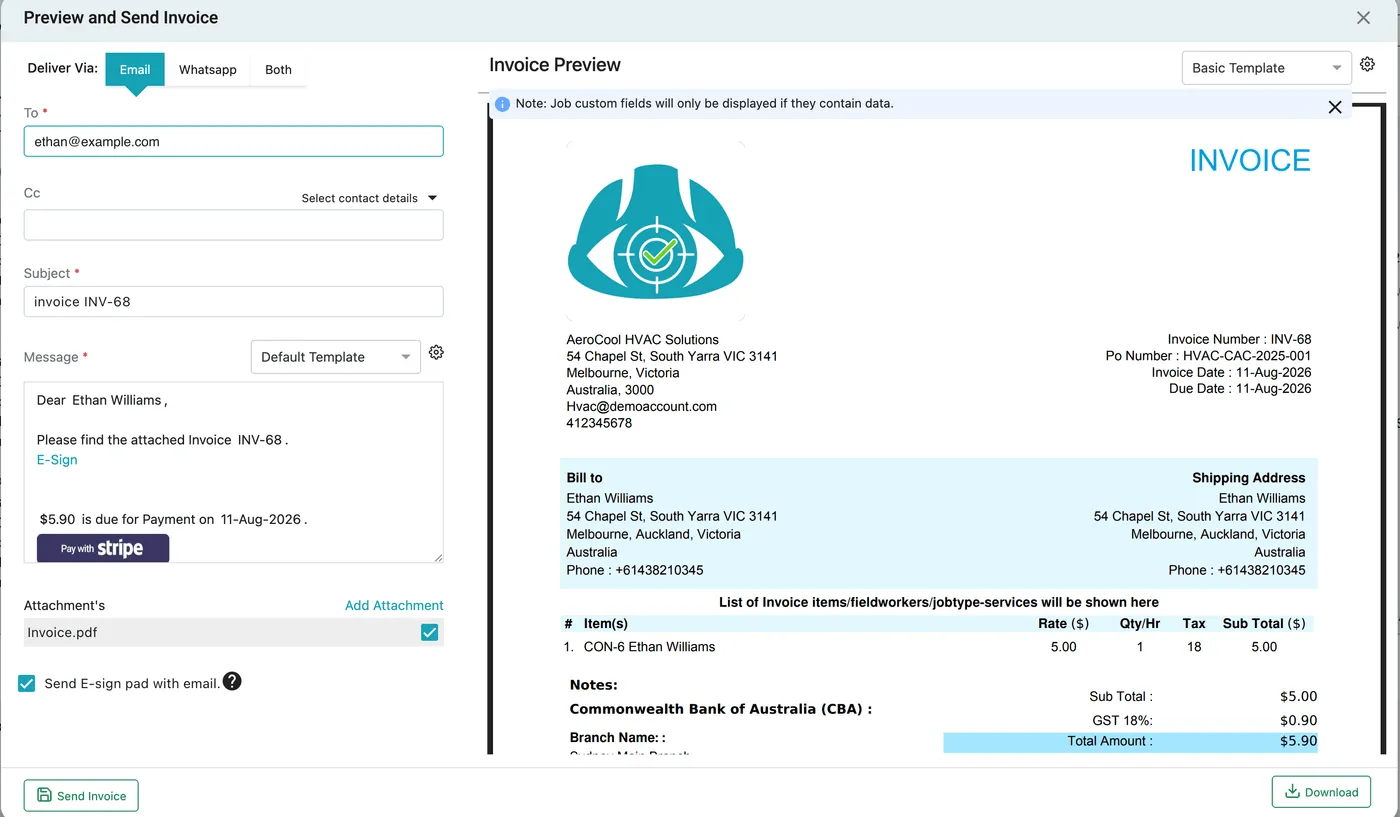
Invoice page → Preview and Send Email
The message
Section titled “The message”- Delivery mode — Email, Whatsapp, or Both.
- To and CC — the recipient, and anyone else on the client’s side who should have it. Select contact details picks from the client’s contacts rather than typing addresses.
- Subject — filled in with the invoice reference, editable.
- Message — generated from a template. The dropdown beside it switches template, and the gear opens the template settings, which change the wording for every invoice sent afterwards.
Want a copy of every invoice yourself? Do not type your own address into CC each time. Put it in Cc or Bcc on the invoice email template once — Settings → Templates → E-mail Template, edit the invoice message, save — and every invoice sent afterwards copies you in. See editing a message.
The message already carries the amount and the date it is due for payment, and it can carry a payment button — see taking payment from the email.
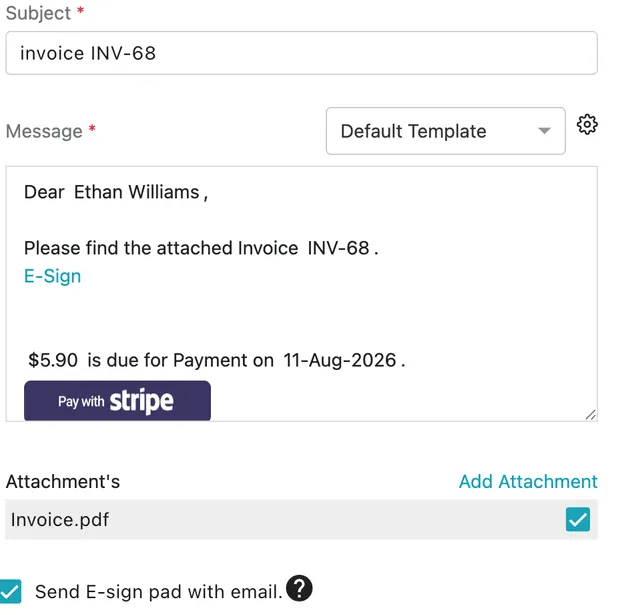
Preview and Send Invoice → Message
Taking payment from the email
Section titled “Taking payment from the email”The invoice email can carry a payment button, so the client settles the bill without leaving it.
The button comes from an integration. Connect PayPal or Stripe in Settings → Integration, and both payment buttons become available in the email template designer. Place one in the template you send, and every invoice that goes out with that template carries it.
The button is tied to the invoice: the client clicks it and is shown exactly what is outstanding on that invoice.
When they pay, the invoice is marked paid automatically — there is no payment for you to record afterwards. It appears in the invoice’s payment history with the mode it was paid by.
Attachments
Section titled “Attachments”Add Attachment puts any file alongside the invoice. Separately, Other Attachment(s) lists documents the system already holds for this work — the job card being the common one. Tick it and the client receives the record of what was done alongside the bill for doing it.
The preview and its template
Section titled “The preview and its template”The right-hand side is the invoice as the client will see it: your letterhead, the Invoice Number and Po Number, the dates, Bill to and Shipping Address, the priced lines, and your Notes — which is where bank details for payment normally sit.
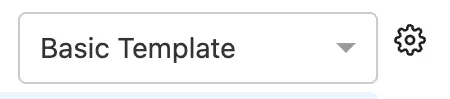
Preview and Send Invoice → the template control
The dropdown above the preview switches template, so a detailed layout can go to one client and a basic one to another. It lists every invoice template you have saved — you are not stuck with the one that shipped, and you can build others in Settings → Templates → Invoice Template with Create New Template. See more than one invoice layout.
Job custom fields appear on the invoice only when they contain data.
Download saves that PDF without sending anything.
Collecting a signature
Section titled “Collecting a signature”Tick Send E-sign Pad with Email and the client can sign the invoice electronically, with an E-Sign option appearing in the message body.
Sending several outstanding invoices at once
Section titled “Sending several outstanding invoices at once”When a client owes on more than one invoice, you do not have to send them one by one. The invoices list does it in one go:
- Open Invoices and switch to Table View.
- Tick the unpaid invoices you want to send. Only the ones you tick go out, and they must all belong to the same client.
- Click Send Outstanding Email, at the top of the table.
- The client’s email address fills itself in. Check the details, then Send.
Tick invoices from more than one client and the app stops you before anything is sent:
Multiple Clients Selected
You’ve selected invoices from different clients. Outstanding invoice mail can only be sent for one client at a time. Please select invoices from a single client and try again
Untick the other client’s invoices and send again — one client per send.
This is the route for chasing a client who has let several bills pile up: the invoices you ticked go to them in a single send, rather than as a string of separate reminders they can answer one at a time. To find those invoices first, filter the table by Payment Status — see Paid, Partially Paid, Unpaid and overdue.
For the whole history of a client’s account rather than just what is unpaid, send a statement from their Payment tab instead.
After sending
Section titled “After sending”Sending confirms with “Invoice generated and mail sent successfully.” The invoice is now with the client, and what remains is recording the payment when it arrives.