How expenses work
An expense is money someone spent to get the work done — the fuel and tolls on the way to site, food on a long day, a camera bought from a merchant because the one in the van was the wrong model. The person out on the road pays for it there and then and claims it back from the company afterwards.
Each claim is one record: what was spent, when, what it was for, and which job or client it belongs to, with a photograph of the receipt attached to it.
Expenses are a Premium plan feature. See plans and pricing.
The receipt is the claim
Section titled “The receipt is the claim”Every expense can carry the actual receipt, uploaded as an image or a scan when the claim is made. It is what turns “I spent twenty euro on lunch” into something that can be checked, approved and paid without anyone having to remember the day.
Take the photograph at the counter, while the receipt is in your hand. See adding an expense.
Finding your expenses
Section titled “Finding your expenses”Expenses on the main menu opens every claim in the account.
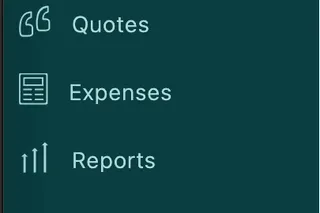
Main menu → Expenses
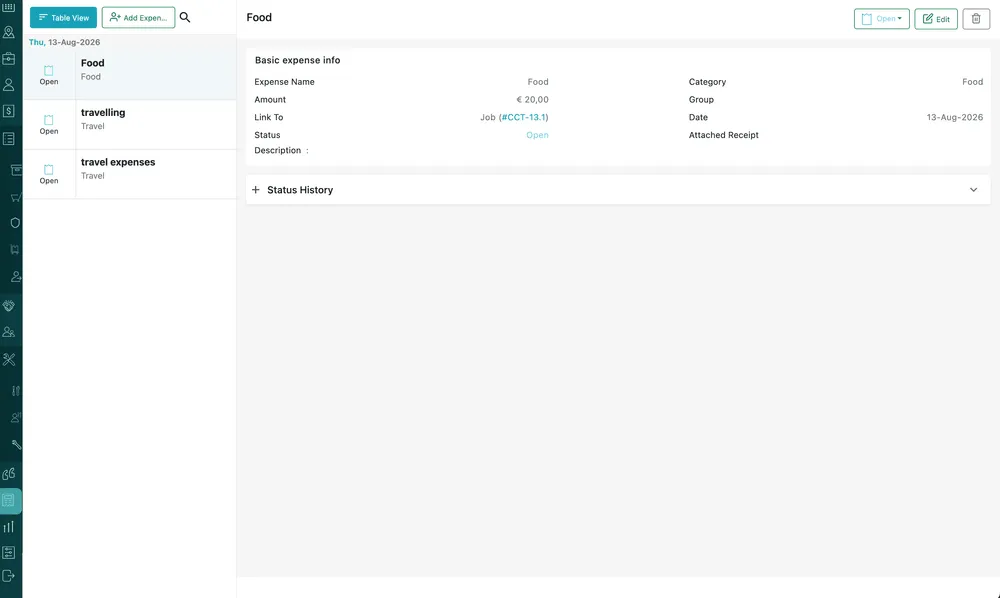
Main menu → Expenses
Claims run down the left, newest day first, and clicking one opens it alongside the list.
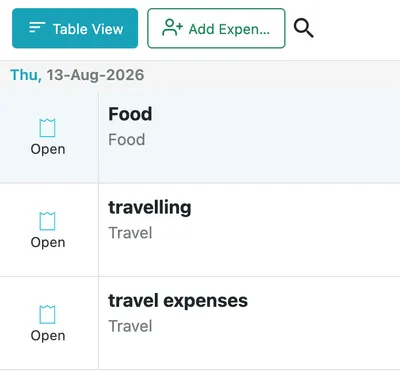
Expenses, Simple View
Each row carries the name of the claim, its category and its status. Above the list:
- Table View redraws the claims as a table with a column per field, which is where searching and filtering live. The button is labelled with the view you are going to, so Simple View brings you back. See finding and filtering expenses.
- Add Expense opens the claim form — see adding an expense.
- The search icon opens a search box over the list.
Where claims come from
Section titled “Where claims come from”An expense reaches the list by one of three routes:
- A fieldworker logs it in the app as they spend, which is how most of them arrive — see expenses and leave in the app.
- Somebody logs it here, from Add Expense on this screen or on the job’s own Expenses tab. A claim recorded for someone else is marked as theirs with Log expense on behalf of user — for the worker with no signal, or the one who left the receipt on your desk.
- A fieldworker buys something on site and adds it to the job as an item line, ticking Report it as an expense and request reimbursement in the app. The cost reaches the client’s invoice and the claim reaches this list. See expenses on jobs and clients.
From Open to Paid
Section titled “From Open to Paid”A new claim starts as Open and is worked through from the expense itself:
| Status | What it means |
|---|---|
| Open | Claimed and waiting on a decision |
| Approved | Accepted — the company owes this money |
| Reject | Turned down |
| Paid | The claimant has had their money back |
Every change is kept, with who made it and when, so a claim can always be traced. See approving and paying an expense.
Where the money shows up
Section titled “Where the money shows up”A claim linked to a job comes off that job in the estimated profit figure, which is what separates a job that looked profitable from one that was.
Getting a cost on to the client is done on the job’s item lines: Mark as expense on a line carries it through to the invoice. See expenses on jobs and clients.
Where to go next
Section titled “Where to go next”| Page | What it covers |
|---|---|
| Adding an expense | The claim form, field by field — receipt, amount, category, what it links to, and logging one for somebody else |
| The expense page | Reading one claim, and editing or deleting it |
| Approving and paying an expense | Moving a claim through Open, Approved, Reject and Paid, and the history behind it |
| Finding and filtering expenses | Table View — searching, filtering and choosing columns |
| Expenses on jobs and clients | Linking a claim to a job or a client, and claiming for an item bought on site |
| Expense categories and groups | Setting up the categories and groups claims are sorted into |
| Expense questions | The things people get stuck on |
Settings behind this module
Section titled “Settings behind this module”- Expense and user settings — Where the category and group lists are maintained