Request settings
Settings → Modules → Request holds four screens. Two of them — the form builder and the status list — are big enough to have pages of their own, and both are documented with the Requests module.
Default settings
Section titled “Default settings”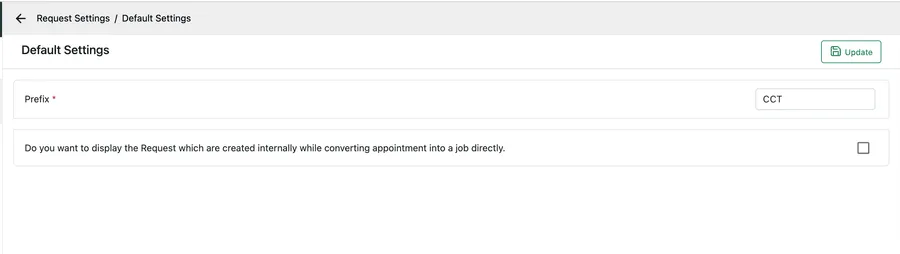
Settings → Modules → Request → Default Settings
| Setting | What it does |
|---|---|
| Prefix | The letters in front of every request number. Required. |
| Display the Request which are created internally while converting appointment into a job | Whether requests your own staff raised in the course of turning an appointment into a job show up in the request list alongside genuine customer enquiries. |
The second one is about keeping the request list honest. Left clear, the list is enquiries that came from outside; ticked, it also shows the ones your own process generated. Tick it if you want a complete audit trail; leave it clear if you use the request list as your enquiry inbox.
Update saves.
Request form(s)
Section titled “Request form(s)”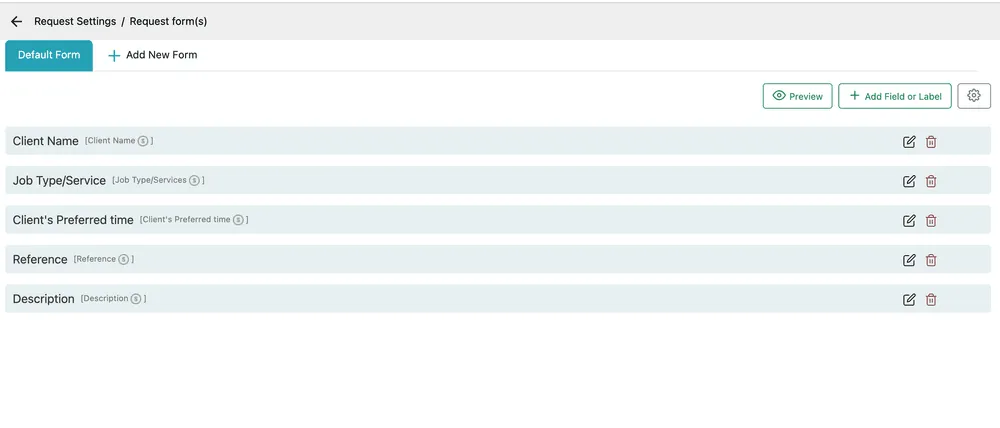
Settings → Modules → Request → Request form(s)
Where the form a request is raised on is built — more than one form, the fields each carries, and your own custom fields alongside the system ones.
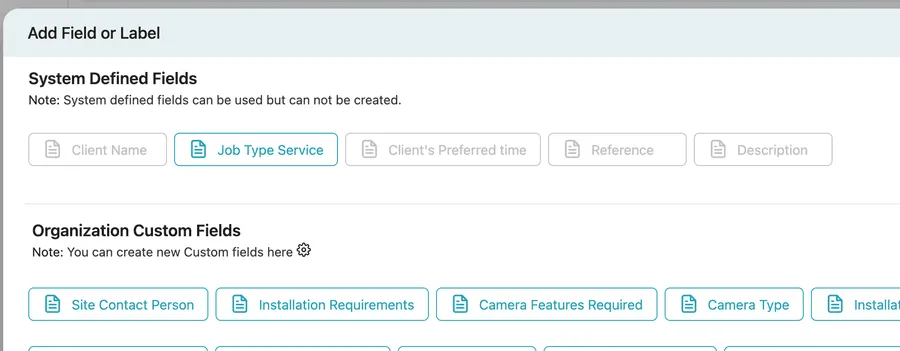
Settings → Modules → Request → Request form(s) → Add Field or Label
Full detail is in request forms.
Request status
Section titled “Request status”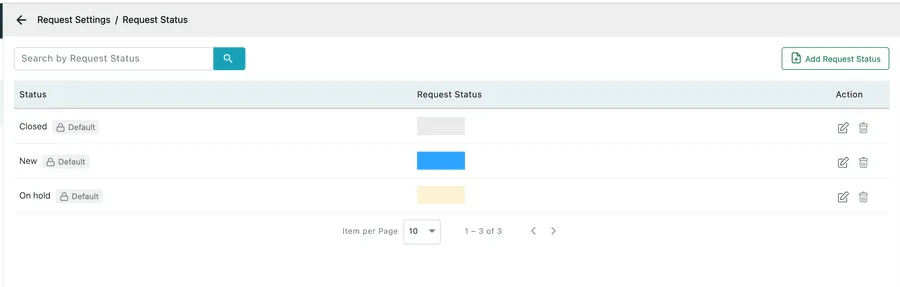
Settings → Modules → Request → Request Status
The stages a request moves through, each with its own colour. Full detail is in request statuses.
Design ContactUs form for your website
Section titled “Design ContactUs form for your website”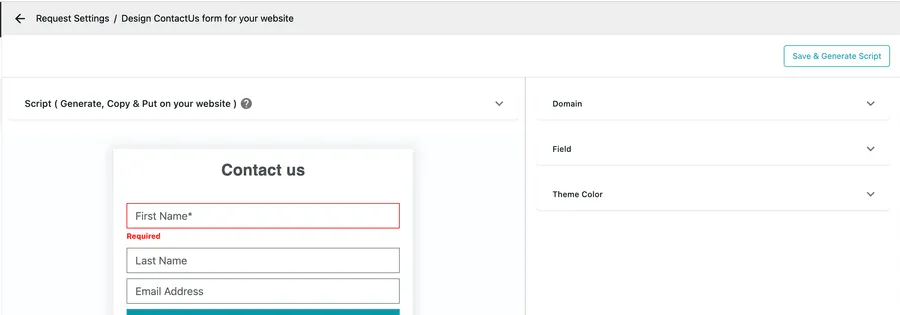
Settings → Modules → Request → Design ContactUs form for your website
Builds a contact form you can embed in your own website, so an enquiry typed there arrives as a request rather than as an email. Choose the fields to collect and which are mandatory, register the Domain it will run on, then Save & Generate Script produces the snippet to paste into your site.
Full detail is in generating and managing the request script, and taking requests from your website covers what happens to the enquiries once they arrive.