E-sign pad on an emailed invoice
The e-sign pad collects the client’s signature on an invoice without anybody printing anything. It takes two steps, and they are in different places: the signature has to be switched on in the invoice template, and then sent with the email.
Doing only the second is the usual reason it does not work — the checkbox is there in the send dialog, but nothing on the invoice asks for a signature.
Step 1 — switch the signature on in the template
Section titled “Step 1 — switch the signature on in the template”Settings on the main menu.
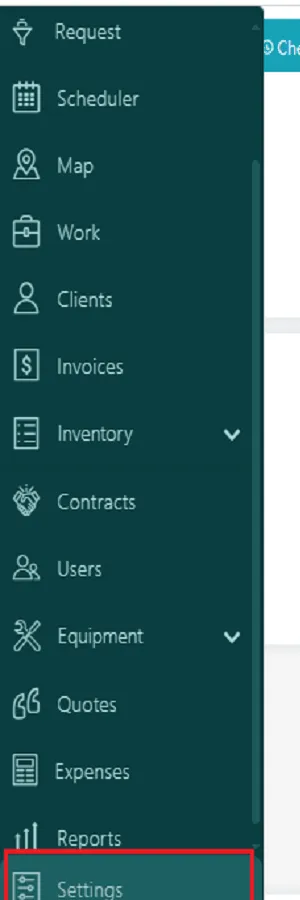
Main menu → Settings
Under Modules, choose Invoice & Accounts, then the fourth option, Invoice Template.
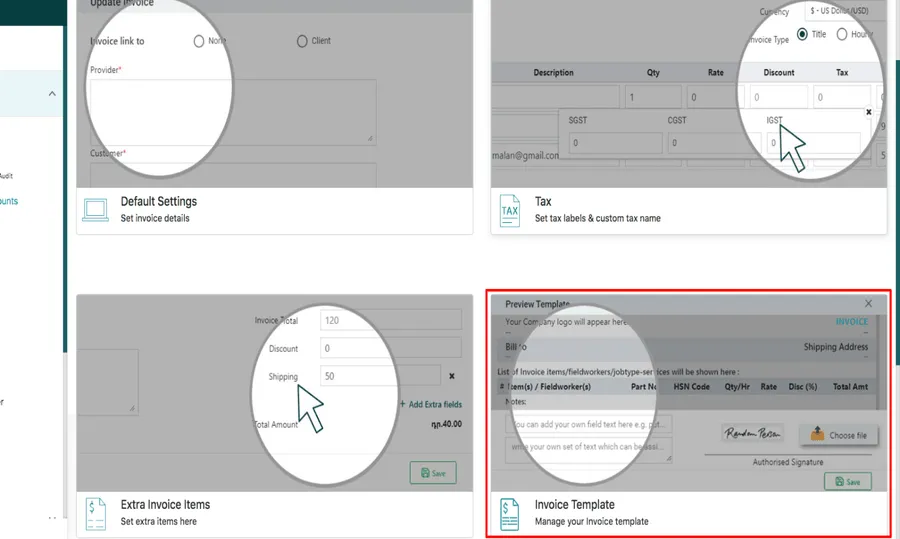
Settings → Modules → Invoice & Accounts
Pick the template you want the signature on. If you keep several, this is per-template — switching it on for one does not switch it on for the rest.
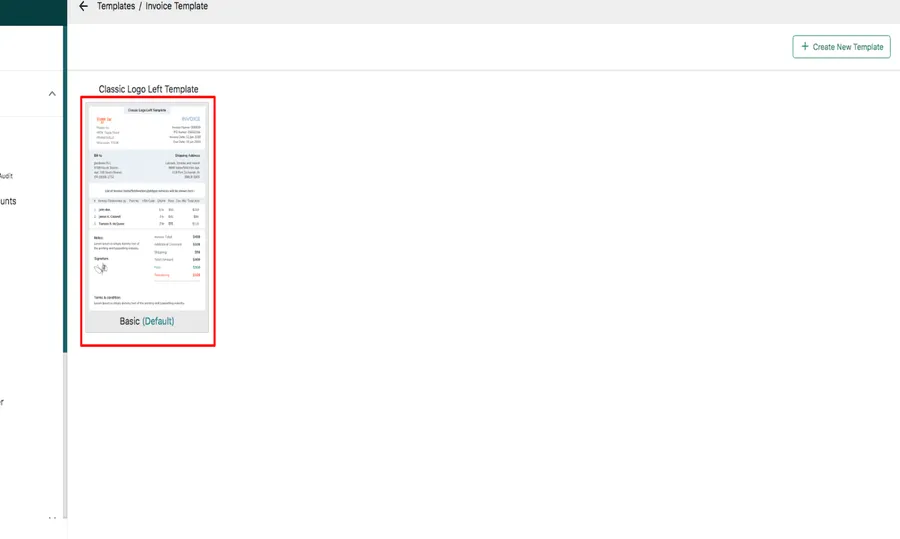
Settings → Invoice Template
Down the right-hand side of the editor is a stack of sections. Open Signature, T & C.
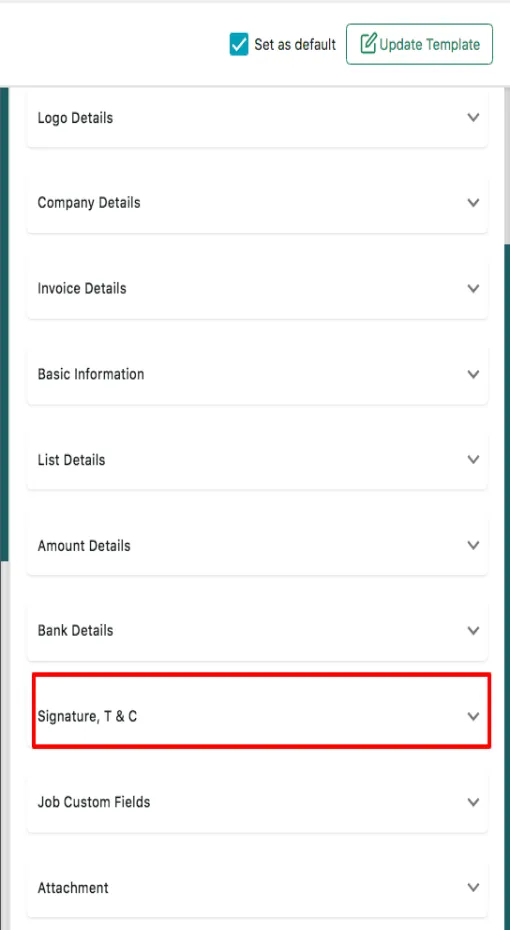
Invoice Template → Signature, T & C
Tick Customer Signature and Customer Name.
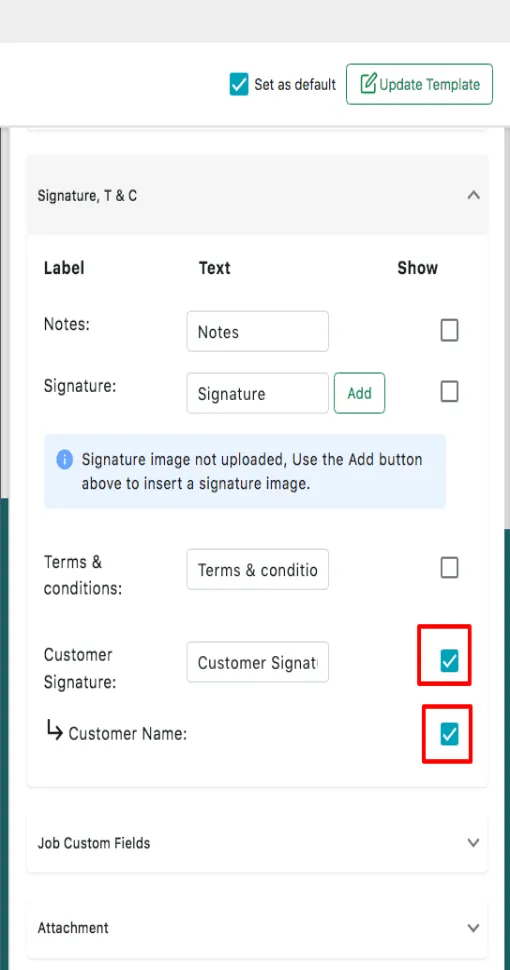
Invoice Template → Signature, T & C, expanded
Update Template saves it. Nothing happens to invoices already sent — this applies from the next one.
Step 2 — send the pad with the email
Section titled “Step 2 — send the pad with the email”Now open an invoice and go to Preview & Send Email.
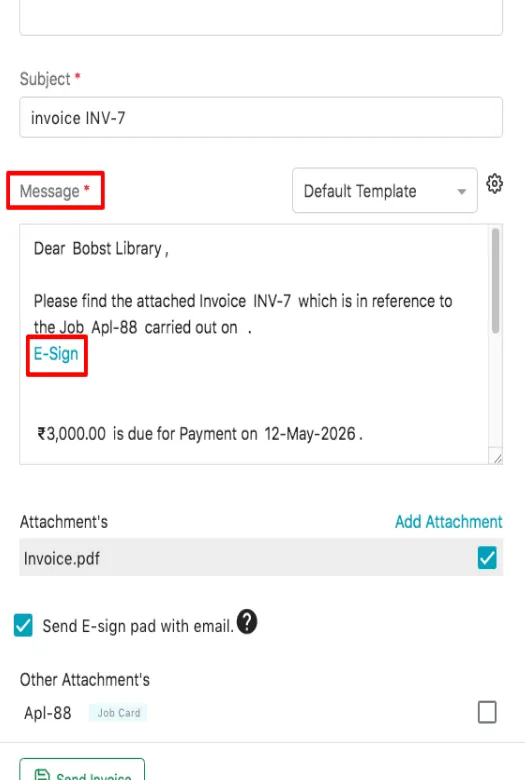
Preview and Send Invoice → Message
E-Sign now appears in the message body. That is the link the client follows to sign.
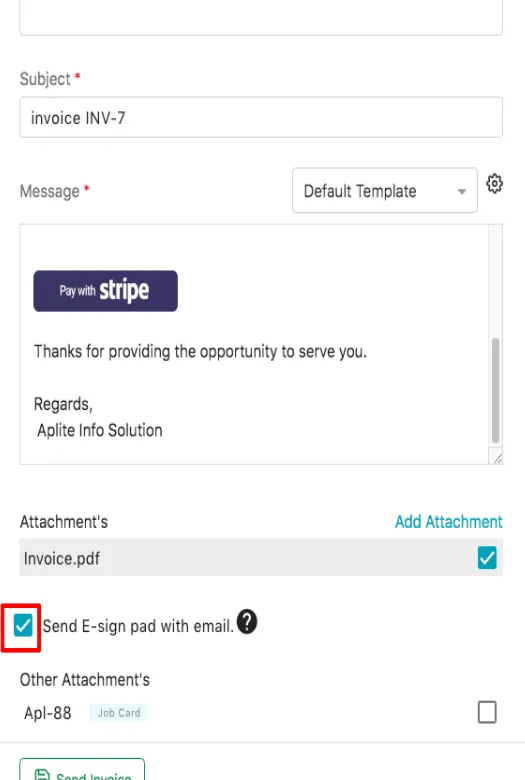
Preview and Send Invoice → Send E-sign pad with email
Underneath the attachments, tick Send E-sign pad with email. Without it the invoice goes out as normal and no signature is asked for.
Send the invoice. What the client signs comes back on the invoice itself.
Where to go next
Section titled “Where to go next”- Sending an invoice — the rest of the Preview and Send dialog
- Invoice and accounts settings — the other four options beside Invoice Template
- Document templates — how the templates themselves are built
- Sending a quote and e-signature — the same idea on a quote