How the scheduler works
The scheduler is the board where work meets people and time. Everything else in EyeOnTask records what the work is; this is where it gets a day, an hour and a name against it.
The geometry is the schedule. A block of work — a strip — says everything by how it is drawn:
- where it sits is when the work happens,
- how big it is drawn is how long it takes,
- which row or column it is in is who is doing it.
That is why the board is worked on directly rather than read. You drag out a span to create a job of exactly that length, click a strip to open and edit it, and drag a strip to change its time or hand it to someone else. Nothing here needs an end time typed in.
There are three schedulers — a simple calendar, and two organised by your people. See the three schedulers.
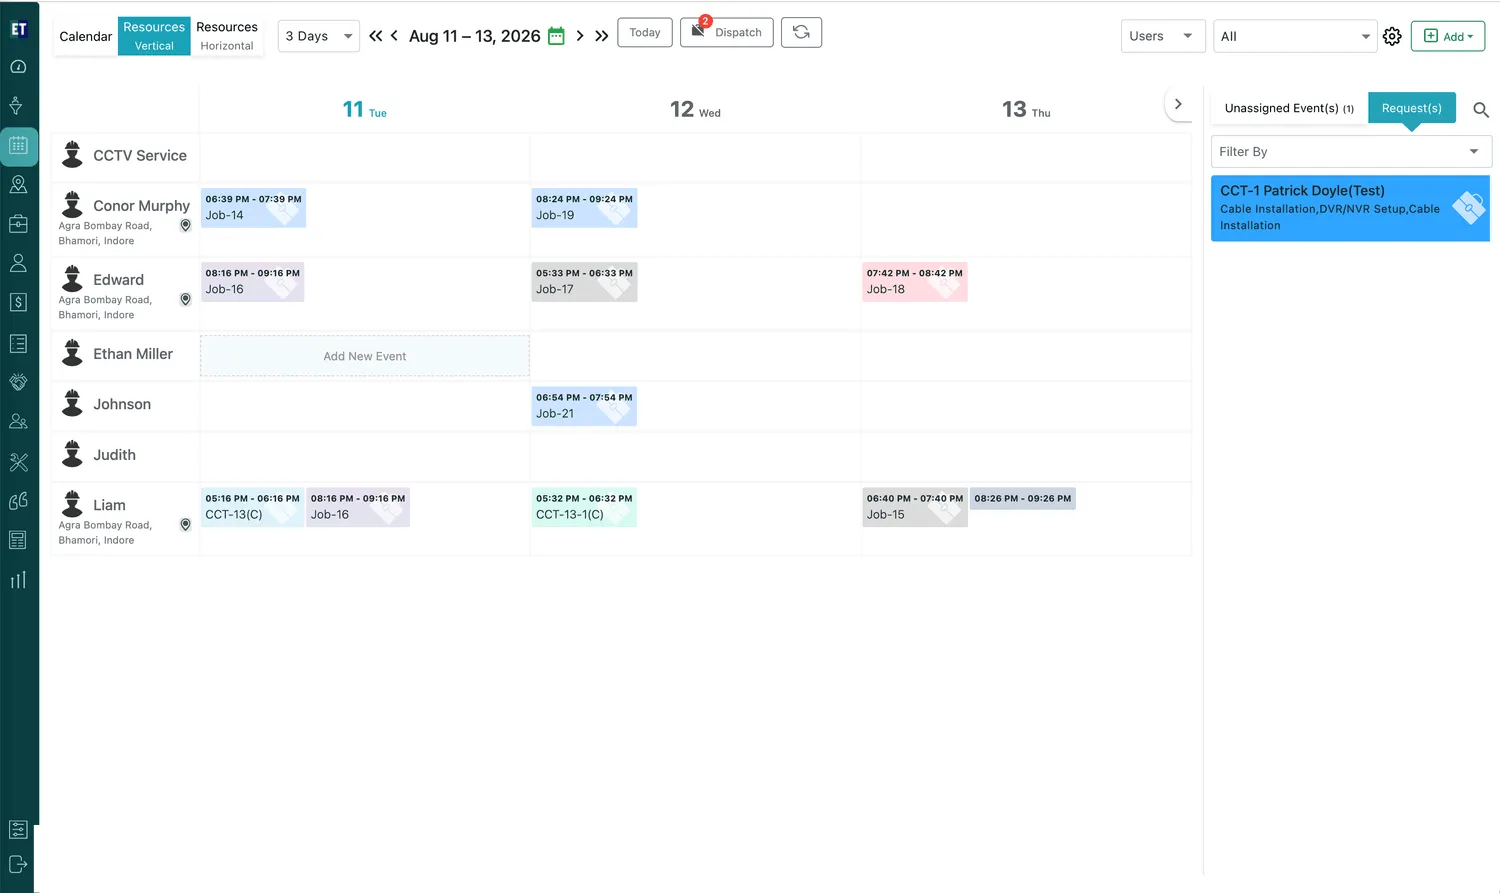
Scheduler → Resources Vertical, 3 Days
Everything below is a part of that one screen: the toolbar across the top, the people down the side, the strips of work in the grid, and the panel on the right.
Finding it
Section titled “Finding it”Scheduler on the main menu — the third entry, under Request.
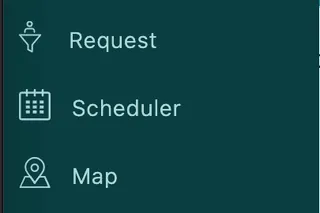
Main menu
The toolbar
Section titled “The toolbar”Everything that changes what you are looking at sits along the top.

Scheduler → toolbar
From the left:
- Calendar, Resources Vertical and Resources Horizontal are the three schedulers. See the three schedulers.
- The period dropdown — 3 Days above — sets how much time is on screen.
- The arrows and date range move you through time; the calendar icon jumps to a date, and Today comes back.
- Dispatch opens the list of jobs that are scheduled but not yet sent — invisible to the fieldworker app and the client portal until they are — with a badge counting how many are waiting. See dispatching from the scheduler.
- The refresh icon reloads the board.
On the right:
- Users chooses which people are on the board, and the dropdown beside it — All — narrows to one kind of work. All means jobs, appointments and audits together. See what the board shows.
- The gear holds the board’s own settings — what a strip shows, whether colour means status or staff, auto refresh, and the hour the board opens at. See what the board shows.
- Add creates work directly here — job, appointment, audit, request or leave. See getting work onto the board.
The people down the side
Section titled “The people down the side”In the Resources layouts, each row (or column) is one of your people, and the work sits against them.
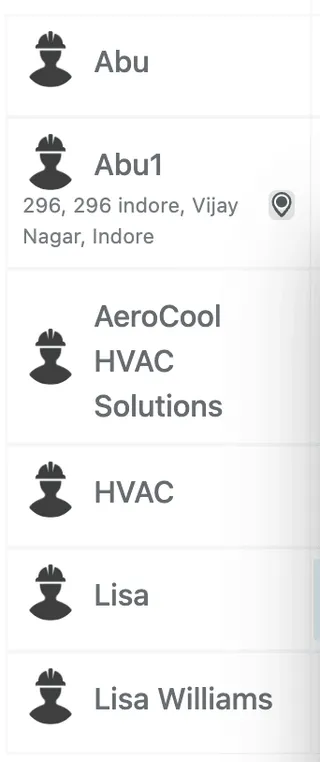
Scheduler → Resources Vertical, resource rows
A row shows the person’s name and their address. The pin beside it opens their last known location on a map, with any jobs near them — see where a fieldworker is, and what is near them.
Every row is a person. There is no such thing as a crew row or a team row here — resources are your users, one to a row. A row that reads like a company is simply a user somebody named that way, not a group of people behind one line.
That is worth knowing before you go looking for a way to schedule a crew as a unit. A job with several people on it belongs to several rows at once, which is why it will not drag in Resources Vertical — see sending a crew.
What a strip shows
Section titled “What a strip shows”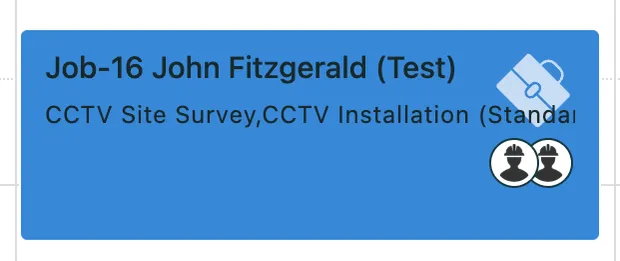
Scheduler → a strip
A strip carries its code and client, the services being done, and an avatar for each person assigned — two heads means two fieldworkers are on it. In the tighter views it shows its time and code instead:
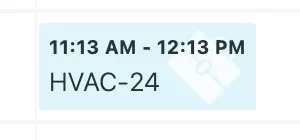
Scheduler → a strip in a narrow column
Either way it occupies exactly the stretch the work takes, so a two-hour job is drawn twice the size of a one-hour one.
A job running over more than one day carries a day counter — D1/2 is day one of two, D3/5 is day three of five. It appears on each day’s strip, so a long installation reads as work in progress rather than as a job that has overrun. See work that runs over several days.
A card’s colour means either its status or the person doing it, whichever you have chosen, and the client name, end date and address can be written on it as well. All of that is set on the gear.
Clicking a strip opens that job, appointment or audit — the same window you edit it in. See getting work onto the board.
Working a day on the board
Section titled “Working a day on the board”The screen rewards being worked in an order. One common round:
- Pick the scheduler and the stretch of time you want in front of you — see the three schedulers.
- Look at what is waiting in the panel on the right: work with nobody on it, work with no time on it, and requests that are not jobs yet.
- Place it by dragging it onto the board — the drop sets both who and when. See getting work onto the board.
- Look at the gaps. With the day laid out, an empty afternoon or two visits that should have been one trip show up on their own. The pin beside a person opens their last known location and the jobs near them, which is how a gap gets filled with something close by.
- Draw in what is missing — drag out a span where the work belongs and the job is created for exactly that stretch.
- Send the day out. Scheduled is not sent: until a job is dispatched it shows on neither the fieldworker’s app nor the client portal.
Through the day the board stops being a plan and becomes a picture of what is happening — strips carry their own status, Auto Refresh keeps it current, and someone going off sick is handled by booking leave and dragging their work onto somebody else.
The panel of work waiting
Section titled “The panel of work waiting”Down the right is everything that exists but is not on the board — work with no time on it, work with nobody on it, and requests that are not jobs yet. It is emptied by dragging things onto the board.
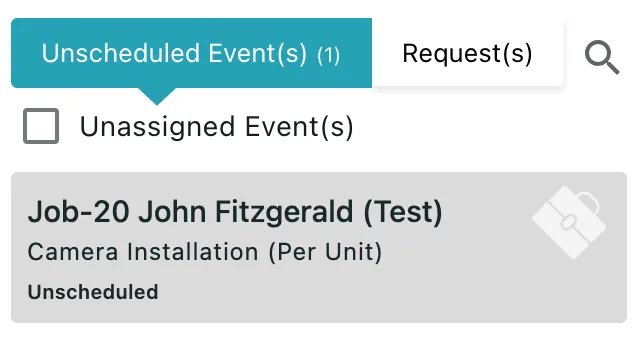
Scheduler → side panel
The panel, and every way work gets onto the board, is covered in getting work onto the board.
Where to go next
Section titled “Where to go next”| Page | What it covers |
|---|---|
| Scheduler views: Calendar, Resources Vertical and Resources Horizontal | What each of the three displays shows, the periods each offers, and moving through dates |
| Scheduling work on the board | The waiting panel, dragging work into place, drawing new work, editing it and moving it |
| Filtering the board and scheduler settings | Which people and which work appear, and the gear — colour, strip detail, auto refresh, starting hour |
| Dispatching jobs from the scheduler | The Not Dispatched Jobs window, and sending a day’s work out at once |
| Fieldworkers on the scheduler | Where someone was last seen, the jobs near them, and booking leave |
| Scheduler questions and troubleshooting | Work that will not drag, people missing from the board, jobs that never reached a phone |
Settings behind this module
Section titled “Settings behind this module”- Work settings — Job defaults, statuses and their colours on the scheduler