Adding an inventory item
Add Item, above the item list, opens the Add New Item form. Only the item’s name is required; everything else can be filled in now or added later by editing the item.
Treat as Part/Component
Section titled “Treat as Part/Component”The tickbox at the top of the form says what kind of thing you are creating.

Add New Item → Treat as Part/Component
Tick it when the item is a component that goes inside something else — a lens module, a battery, a circuit board — rather than a finished product you sell on its own. See sub items and parts.
Basic Item Details
Section titled “Basic Item Details”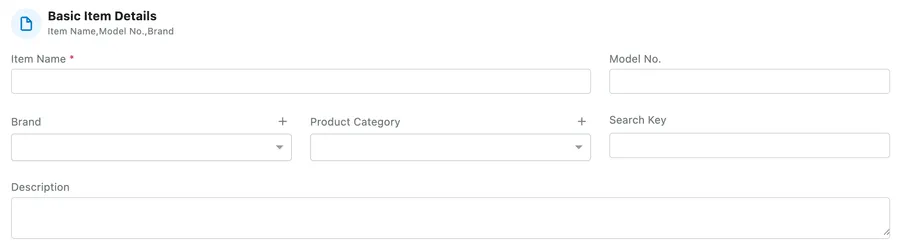
Add New Item → Basic Item Details
| Field | What it is |
|---|---|
| Item Name | What the item is called. This is the only required field, and it is what you will search for. |
| Model No. | The manufacturer’s model or part number. |
| Brand | Who makes it, picked from your list of brands. The + beside the label adds a brand you have not used before. |
| Product Category | The category the item is filed under, again with a + for adding a new one. |
| Search Key | An extra term to find the item by, for when nobody searches by its proper name. |
| Description | What the item is, in a sentence or two. It shows on the item page as Item Description. |
Pricing & Inventory
Section titled “Pricing & Inventory”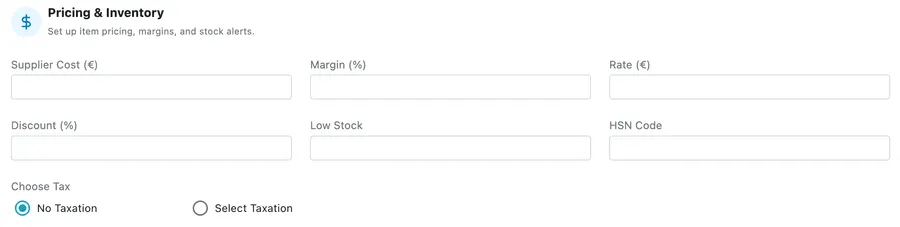
Add New Item → Pricing & Inventory
| Field | What it is |
|---|---|
| Supplier Cost | What one of them costs you. |
| Margin (%) | The mark-up you want between that cost and the price you charge. |
| Rate | The price you charge for one. This is what lands on quotes, jobs and invoices. |
| Discount (%) | A standing discount on the item. |
| Low Stock | The quantity at which you want to be warned that you are running out. It shows on the item page as Low stock alert level set at. |
| HSN Code | The tax classification code for the item. |
Choose Tax sets whether tax applies. No Taxation leaves the item untaxed; Select Taxation lets you pick the tax rate it should carry, such as VAT 23%.
Item Type
Section titled “Item Type”
Add New Item → Item Type
- Consumable — used up during jobs. Oil, cleaning liquid, cable ties. A consumable cannot be turned into equipment.
- Non Consumable — durable, such as RAM, hard drives or tools. These can be capitalised and converted into equipment later, so the individual unit can be tracked once it is installed.
Non billable to client decides whether the item is charged for. Ticked, the item still appears on the jobs it is used on, but it is not invoiced.
Warranty & Notes
Section titled “Warranty & Notes”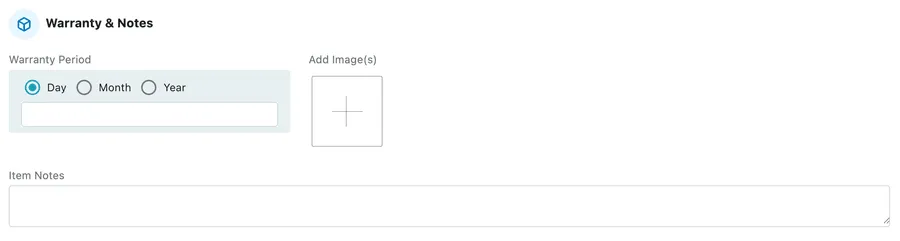
Add New Item → Warranty & Notes
- Warranty Period — how long the item is under warranty. Choose Day, Month or Year, then type the number.
- Add Image(s) — the + tile attaches pictures of the item. They appear on the item page, and you can add more at any time.
- Item Notes — an internal remark about the item, kept on the item page.
Save creates the item, and it appears in the list straight away.
A new item starts with no stock against it. Put the quantity you actually hold onto it with Add/Remove Stock — see managing stock.